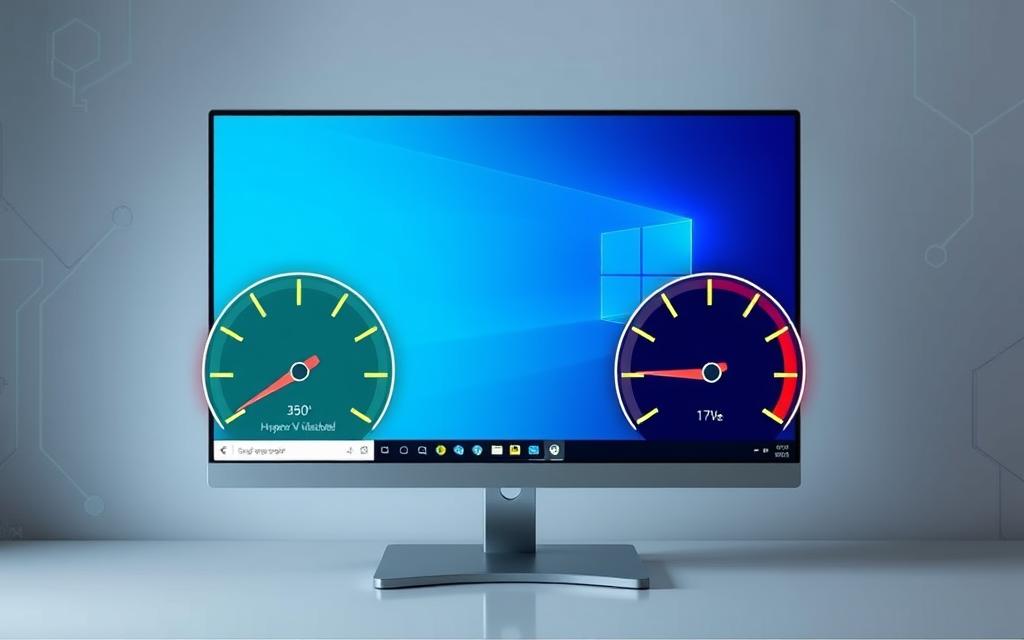
In modern computing, making your computer run better is very important, especially for Windows 11 users. Hyper-V is a handy virtualisation tech included with Windows 11 Pro, Enterprise, and Education. But, it can slow down other apps. For those using VMware Workstation and VirtualBox, Hyper-V might cause problems by making things slow or not work together. So, learning to turn off Hyper-V is key to better Windows 11 performance.
Turning off Hyper-V helps avoid these problems and makes games and emulators run smoother. This guide will show you how to do it, so you can use your computer’s power more wisely. This is great news for gamers and professionals using emulation. By following these steps, you’ll handle the effects of virtualisation on your computer without trouble.
Understanding virtualisation is key for making modern computing better. Hyper-V, by Microsoft, is a leading Type-1 hypervisor. It’s a main part of Windows 11, helping users to make and control virtual machines (VMs) easily.
This hypervisor works directly with hardware. This gives better performance and control over resources in virtual spaces. In Windows 11 Pro, Enterprise, and Education, Hyper-V shows its full power. It makes systems faster and lets you use several operating systems at once.
However, it’s important to know that Hyper-V can lead to problems with other virtualisation apps. These apps might not work as well, so think carefully about using Hyper-V in your set-up.
To use Hyper-V well in Windows 11, your system must meet some needs. You need at least 4 GB of RAM and a 64-bit processor that supports SLAT. Make sure your system can handle Hyper-V before you start.
To sum up, Hyper-V is a powerful virtualisation tool in Windows 11. But, understanding how it affects your system and other apps is crucial. This knowledge will help you decide whether to turn it on or off for the best performance.
Understanding the Need to Disable Hyper-V
Many users look into reasons to disable Hyper-V due to performance issues it causes with other hypervisors. Hyper-V uses hardware virtualisation features like Intel VT-x and AMD-V. This can slow down the system when running multiple virtual machines.
Compatibility is another key reason to turn Hyper-V off. For those using VMware Workstation or VirtualBox, Hyper-V can create conflicts. This makes it necessary to uninstall Hyper-V to avoid these issues.
Some software installations are also blocked by Hyper-V being active. A common example is Intel HAXM. Users find that disabling Hyper-V can lead to smoother system performance and better resource management.
Considering these points can guide users on whether to disable Hyper-V. For more on managing cookies on websites, see this cookie policy.
How to Determine if Hyper-V is Active
Keeping an eye on Hyper-V helps users handle their virtual settings well. You can easily check if Hyper-V is on by using the System Information tool. This tool helps see if the hypervisor is working on your computer.
Using System Information
Just type msinfo32.exe in the search area to open System Information. This action shows important details of your system, like if Hyper-V is enabled. When Hyper-V is running, it’s clearly shown in the information. This helps users make smart choices for managing their system.
Identifying Performance Issues
When Hyper-V is on, users might find their system slows down or other virtual software doesn’t work well. Knowing these signs is key for good system care. You might need to adjust your settings to make sure your computer can handle virtual machines well. For details on how we handle your data, see the Privacy Policy.
Methods to Disable Hyper-V in Windows 11
To stop Hyper-V in Windows 11, you can use the Control Panel or Windows PowerShell. Each method suits different preferences and system needs. Knowing these methods helps improve your computer’s performance for certain apps like VMWare.
Using Control Panel
Follow these steps to turn off Hyper-V via the Control Panel:
Open the Control Panel and go to Programs and Features.
Click on Turn Windows features on or off.
Find Hyper-V options, and untick the box for Hyper-V Hypervisor.
Hit OK and restart your computer to apply the changes.
This straightforward method is popular for its ease and effectiveness. For more instructions and advice, check this resource.
Using Windows PowerShell
If you prefer a faster way, use PowerShell and this command:
Running this in PowerShell with admin rights is faster than using the Control Panel. If you face issues, Microsoft offers useful scripts to help. Check out their resources for more guidance.
Windows 11 Disable Hyper-V: Step-by-Step Guide
This guide shows a simple way to boost your Windows 11 system performance. First, go to the Control Panel. There, uncheck the Hyper-V option in “Turn Windows features on or off.” This is a basic step for better system function.
If you prefer using commands, Windows 11 has that option through Windows PowerShell. Type in bcdedit /set hypervisorlaunchtype off to turn Hyper-V off. Also, it’s important to turn off Memory Integrity in Windows Security settings for the best system boost.
After making these changes, restart your system. A restart makes sure Hyper-V’s effects are fully cleared out. Now, you can get the best out of other virtualization tools like VMware or VirtualBox. Follow this guide to improve your Windows 11’s speed and work efficiency.
FAQ
What is Hyper-V?
Hyper-V is a Type-1 hypervisor made by Microsoft. It’s built to create and run virtual machines (VMs) directly on hardware. This means better performance on Windows 11 systems.
Why should I disable Hyper-V?
Turning off Hyper-V can fix issues with other virtualisation tools like VMware and VirtualBox. This is because Hyper-V uses hardware features these tools also need, which can slow down your computer and cause problems with how it uses resources.
How can I check if Hyper-V is active on my system?
To see if Hyper-V is running, use the System Information tool. Just type “msinfo32.exe” in the search box. Then, look for details that show if a hypervisor is running.
What are the methods to disable Hyper-V in Windows 11?
To turn off Hyper-V, you can go through the Control Panel. Choose “Programs and Features”, then “Turn Windows features on or off.” Alternatively, use Windows PowerShell. Simply run “Disable-WindowsOptionalFeature -Online -FeatureName Microsoft-Hyper-V-Hypervisor” in a PowerShell window with admin rights.
Will I need to restart my system after disabling Hyper-V?
Yes, restarting your system is key after turning off Hyper-V. This ensures all changes apply properly. It helps your computer run better and manage its resources well.
What issues might arise if I leave Hyper-V enabled?
Keeping Hyper-V on might cause big performance problems. Your computer could slow down. You might also hit errors when running virtual machines or using intensive applications in other virtualisation software.
Is Hyper-V only relevant for Windows 11 Pro editions?
Hyper-V works on different Windows 11 editions. However, it’s best used and mainly meant for the Pro, Enterprise, and Education versions.
Turning a PC into Hyper-V can seem hard, but it’s doable with the right help. This guide will show you how to convert your PC to Hyper-V. We’ll cover the benefits and what you need to start. First, let’s talk about why converting to Hyper-V is good for your business. It makes your machine more…
Today, using Hyper-V Manager on non-domain computers offers many users a great chance to manage Hyper-V well. Many people are now learning to set up Hyper-V without an Active Directory (AD). This guide will show you how to handle remote management, whether for personal use or small setups. You’ll learn how to install easily and…
Many users face errors when trying to set up Windows 11 Hyper-V. They often blame system requirements. To fix this, knowing the system needs for Windows 11 Hyper-V is key. You also need to enable the right features to make your PC compatible. Experts say that enabling TPM 2.0 is essential for Windows 11 Hyper-V….
In today’s IT world, virtualisation brings many chances but also hurdles. A common problem is Windows Server 2019 getting stuck shutting down Hyper-V. This can be a real headache, as it causes big delays for virtual machines. When VMs keep hanging in a ‘stopping’ state, it messes up the smooth running and dependability of servers….
Welcome to the enthralling world of Hyper Light Drifter, a game that stands out in the indie scene. It combines beautiful art with exciting action RPG elements. With an 85% positive rating from recent reviews and a 93% overall satisfaction rate, it’s clear players love its style and gameplay. At just $19.99, Hyper Light Drifter…
In today’s digital world, Hyper-V by Microsoft is key for cloud computing. This technology lets us run several virtual machines (VMs) on one physical server. It makes using resources more efficient and saves money. Hyper-V makes it easy for businesses to adjust resources as needed. This ensures they work well even when needs change. The…