In today’s tech world, knowing if your computer can handle computer virtualization support is key. Checking for Hyper-V support is crucial, especially if you use Windows 10 Pro, Enterprise, or Education. It lets you use more software and work better.
This guide will show you how to check if your computer is ready for Hyper-V. We’ll look at your processor, memory, and disk space. It’s important to know these details. While many new PCs are ready for this, some older ones might need BIOS adjustments.
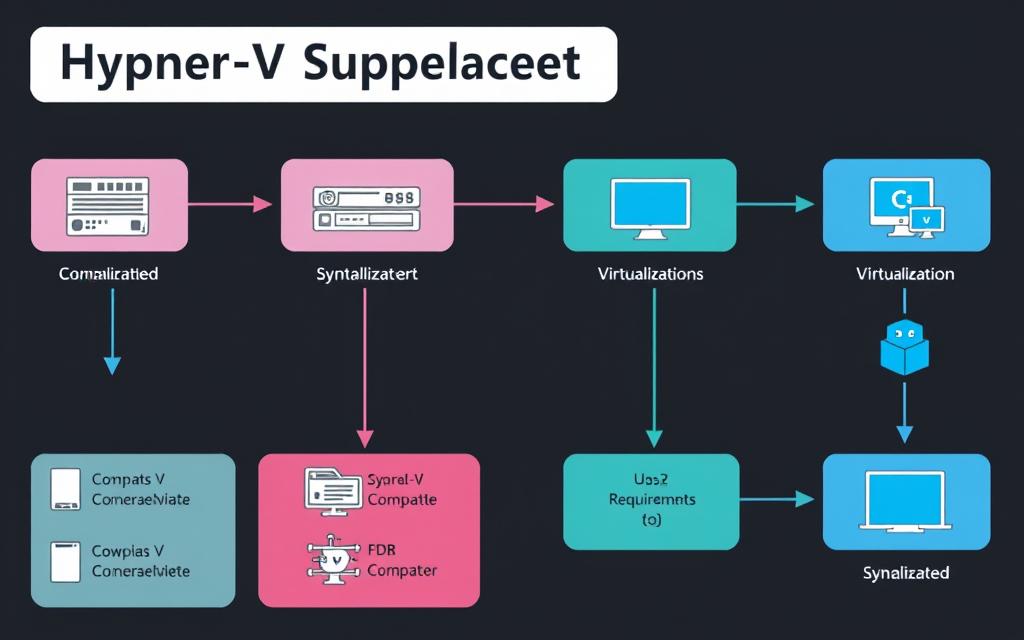
Look at the steps to turn on Hyper-V and see the benefits of virtualisation. Checking if your system supports Hyper-V will make your computer more flexible and efficient.
To learn how to enable Hyper-V, read this detailed guide. Also, see how cookie policies affect you by visiting this page. These tips will help improve your online experience.
Hyper-V is a strong hypervisor for managing virtual machines. It works best with Windows Server and client systems. It started with Windows Server 2008, showing it has grown with modern Windows needs. As a key part of IT setups, it helps a lot.
What is Hyper-V?
The Hyper-V definition is about a hypervisor for Windows systems. It lets you put many operating systems on one physical machine. It makes managing resources better and boosts efficiency. It can handle Windows, Linux, and FreeBSD. This makes it very useful in different IT setups.
Looking into Hyper-V benefits shows good reasons for its use in a business. It offers:
Resource optimisation: You can run many virtual machines on one server. This makes the most of the hardware.
Testing environments: Developers can test apps in separate spaces without affecting the main system.
Enhanced security: Systems in Hyper-V work alone. This means less chance of risks spreading through the network.
Disaster recovery: Things like live migration and Hyper-V Replica help in protecting and recovering data.
Using Hyper-V brings many virtualisation advantages. These include better resource use, more flexibility, and easy scaling. With growing demands for performance and reliability, Hyper-V is a smart choice. It lets businesses grow and compete well.
System Requirements for Hyper-V
Knowing what Hyper-V needs lets users set it up well. It’s all about compatibility, how powerful your hardware is, and having enough system resources. These things make sure Hyper-V works at its best.
Windows Edition Compatibility
Hyper-V works only with certain Windows versions. You need Windows 10 Pro, Enterprise, or Education to use Hyper-V. These editions are designed to work with virtual machines. So, they are needed to get Hyper-V up and running.
Processor Requirements
The CPU is key for Hyper-V’s hardware needs. A 64-bit processor with SLAT and Virtual Machine Monitor Mode Extensions is a must. Some features need an even more advanced CPU. For example, shielded virtual machines and discrete device assignment require extra CPU capabilities.
Memory and Disk Space Considerations
For Hyper-V to run well, you need enough memory and disk space. At least 4 GB of RAM is needed for the Hyper-V host. More RAM makes it run smoother, especially with many virtual machines. Also, storage is important.
Plan 40-60 GB just for Hyper-V’s installation. You’ll also need more space for the files of your virtual machines. This helps manage resources better.
Requirement
Detail
Windows Editions
Windows 10 Pro, Enterprise, or Education
Processor
64-bit with SLAT, VMM Mode Extensions
Recommended RAM
Minimum 4 GB, more for better performance
Disk Space for Installation
40-60 GB for Hyper-V, additional for VMs
Virtualization Support
Enabled in BIOS/UEFI with Intel VT or AMD-V
How to Check If My Computer Supports Hyper-V
Checking if your system supports Hyper-V is simple with the right tools. You can use the System Information tool, known as msinfo32, for this check. Just follow a few steps to see if your computer is compatible with Hyper-V.
Using the System Information Tool
To start, open the System Information tool on your Windows computer:
Press Windows + R to open the Run dialog.
Type msinfo32 and press Enter.
You’ll see your system summary in the System Information window.
Then, look in the System Summary section. This part has important info about what your computer can do. Check for these specific things that show if Hyper-V will work:
VM Monitor Mode Extensions: Should say ‘Yes’.
Second Level Address Translation Extensions: Should say ‘Yes’.
Virtualization Enabled In Firmware: Should say ‘Yes’.
Data Execution Prevention: Should say ‘Yes’.
Interpreting the Results
If you see ‘Yes’ for all four points, your computer can use Hyper-V. If any say ‘No’, you’ll need to adjust your BIOS or UEFI firmware settings. Check your computer or motherboard’s manual on how to do this. Making these changes will help check for Hyper-V support and get your machine ready for virtualisation.
Checking Hyper-V Support via PowerShell
Using PowerShell is a smart way to check if your system supports Hyper-V. You can run some PowerShell commands to find out if Hyper-V is on. Make sure to open PowerShell as an administrator. This lets you have the right access to verify Hyper-V.
Running PowerShell as Administrator
Firstly, find PowerShell in the Start menu, then right-click and choose “Run as Administrator.” You need this level of access to change system settings. Next, you’ll be ready to type in the command to see if Hyper-V is working. Here is the command you should use:
This checks if your Windows includes Hyper-V and if it’s turned on or off.
Interpreting PowerShell Results
After you run the command, PowerShell will show if Hyper-V is “Enabled” or “Disabled.” This tells you how it’s set up now. If Hyper-V isn’t on and you have Windows 10 Pro, Education, or Enterprise, or even Windows Server, you can turn it on. Do this through Windows Features or with PowerShell commands. Also, trying Get-VM will show you a list of virtual machines you have. This is good to know for managing your Hyper-V setup well.
PowerShell makes managing Hyper-V more efficient and gives you more control. There are over one hundred PowerShell commands for Hyper-V. These help automate tasks like making virtual machines or keeping them up to date. Knowing these commands means you can manage your Hyper-V better.
PowerShell Command
Description
Get-VM
Lists all virtual machines with details such as name and state.
Start-VM
Starts a specified virtual machine.
Stop-VM
Shuts down or turns off a virtual machine.
Checkpoint-VM
Creates a snapshot of the virtual machine.
Test-VHD
Verifies the usability of a virtual hard disk file.
Using PowerShell to check and manage Hyper-V makes things easier. Not only does it check for Hyper-V, but also it helps manage virtual machines well. For more info on these commands, look at resources like this link.
Alternative Methods to Verify Hyper-V Compatibility
There are other ways to check if your system can run Hyper-V apart from standard checks. Using the Command Prompt or looking at your BIOS settings can be very helpful. These methods can show if your system supports Intel VT-x or AMD-V. These techs are key for running virtual machines well.
Using Command Prompt
For a quick check, just type systeminfo into Command Prompt. This tells you lots about your system, including if it can do hardware virtualization. Look for Hyper-V needs in the results. This will tell you if your machine can run this tech.
Assessing BIOS/UEFI Settings
Checking the BIOS settings is also vital. You need to turn on virtualisation options in your BIOS or UEFI for Hyper-V. Usually, Intel VT-x or AMD-V are off by default. By changing your BIOS settings, you can turn them on. This doesn’t really affect CPU performance but lets your computer use necessary techs for virtualisation. Making sure these settings are right is crucial to fully support Hyper-V.
FAQ
What is Hyper-V?
Hyper-V is a virtualisation platform created by Microsoft. It lets users create and manage different virtual machines. It allows running various operating systems on one computer, making it great for testing and development.
What are the benefits of using Hyper-V?
Using Hyper-V has several benefits. It offers resource isolation and boosts system security. It also lets you use multiple operating systems at once. This tech improves productivity by simplifying IT management and providing strong testing setups.
Which Windows editions support Hyper-V?
Hyper-V works with Windows 10 Pro, Enterprise, and Education editions. Owners of these versions can use Hyper-V for managing virtual machines.
How can I confirm if my computer meets the requirements for Hyper-V?
To check if your computer can use Hyper-V, use the System Information tool (msinfo32). It shows if your system has Hyper-V features and if it meets the requirements.
What are the essential processor requirements for Hyper-V?
For Hyper-V, you need a 64-bit operating system with SLAT and VM Monitor Mode Extensions. These features ensure the best performance.
How can I check Hyper-V support using PowerShell?
Check Hyper-V support with PowerShell by opening it as admin and typing ‘Get-WindowsOptionalFeature -Online -FeatureName Microsoft-Hyper-V’. This tells you if Hyper-V is on or off.
What alternative methods can I use to verify Hyper-V compatibility?
You can also use the Command Prompt with ‘systeminfo’ to check Hyper-V compatibility. Checking BIOS/UEFI settings for virtualization support is key for Hyper-V use.
Gaming enthusiasts always aim for the best performance. Building the top hyper gaming PC needs understanding components and finding the right balance between looks and power. This guide will help you learn to make a custom PC that exceeds what’s expected. The quest for top-notch gaming drives us to seek immersive and smooth gameplay. With…
In today’s digital world, Hyper-V by Microsoft is key for cloud computing. This technology lets us run several virtual machines (VMs) on one physical server. It makes using resources more efficient and saves money. Hyper-V makes it easy for businesses to adjust resources as needed. This ensures they work well even when needs change. The…
The Hyper Beast PC Case is a masterpiece by NZXT. It’s loved by gamers, especially CS:GO fans. This limited edition case honors the CS:GO weapon skin. It features art by Brock Hofer. Only 1,337 units are made, each with a special badge. We will look at the case’s beginnings and design. Also, its impressive performance…
Welcome to the enthralling world of Hyper Light Drifter, a game that stands out in the indie scene. It combines beautiful art with exciting action RPG elements. With an 85% positive rating from recent reviews and a 93% overall satisfaction rate, it’s clear players love its style and gameplay. At just $19.99, Hyper Light Drifter…
Organisations grow and the need for flexible IT solutions increases. Moving Hyper-V VMs is now more important than ever. It helps in disaster recovery, improves load balancing, and makes better use of hardware. This guide covers migrating Hyper-V across Windows Server versions from 2016 to 2025, and Windows 10-11. Moving Hyper-V VMs can be tricky,…
In today’s IT world, moving Hyper-V virtual machines between systems is key. This is vital for managing data well and keeping things running smoothly. Since more companies use virtualisation, knowing how to migrate Hyper-V is important. Being able to move a virtual machine easily means resources are used well. This boosts productivity. This article looks…